
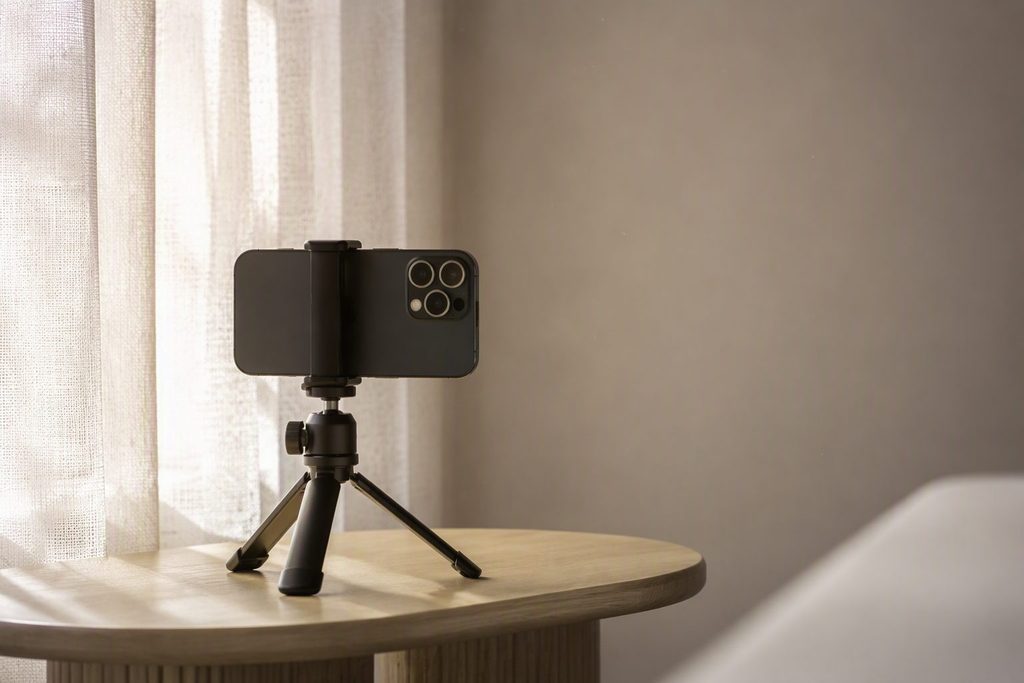
Harsh sunlight, a bright window behind your face, and a mix of warm and cool household bulbs can change how your teeth and skin look from one phone photograph to the next. So start with light and setup: soft window light, a neutral background, and the same arrangement every session. None of this requires a professional camera.
How to take dental photos with the phone you already have
If you want to photograph teeth at home, your phone is enough. The goal is a clear, honest image a dental professional can actually use, and that comes from preparation rather than expensive gear.
Prepare the phone before framing your smile
Start with the lens. A smudged lens softens the whole image, so wipe it with a soft cloth first. Use the rear camera when someone can help; it aligns more easily than a screen-facing selfie setup and usually renders better. Stick to the standard lens, because an ultrawide exaggerates features near the frame edges.
Then strip out the cosmetics. Turn off every enhancement your camera app offers, including beauty modes and artificial background blur. Hold the phone level with your mouth rather than tilting sharply up or down, tap the teeth to set focus, and lock focus and exposure if your phone allows it so brightness does not shift mid-set. Finally, follow the specific views your dental provider requests instead of inventing your own clinical protocol.
Can you take useful dental photos with an iPhone?
Yes. An iPhone can produce useful pre-consultation photos when the lens is clean, filters are off, you use the standard camera, and lighting and distance stay consistent between sessions. The latest model is unnecessary.
No universal set of professional camera settings exists for home dental photographs. Automatic phone processing varies by model, so copying ISO, shutter speed, or aperture values designed for a DSLR with a dental flash will not help you. Stable light, accurate focus, and repeatable framing matter far more. Check your phone model’s camera instructions for the exact steps to lock focus and exposure.
Frame the same view each time
A straightforward front-facing smile view works for most pre-consultation purposes. Keep your head upright and your shoulders relaxed, with the camera centered on your mouth. Leave a little space around your face so the orientation is clear, but don’t stand so far back that your teeth become a tiny part of the frame.
Ask your dentist or consultation provider exactly which views they need. Some want a relaxed expression, some want a natural smile, and some want extra angles. No single set fits every dental purpose, so follow your provider’s instructions.
The best lighting for teeth photos is soft and consistent
Lighting setup significantly affects color accuracy in dental photographs. Get it right, and the phone can handle the rest.
Use a window without letting it overpower the photograph
Stand beside a window or angle slightly toward it so daylight falls across your face. Do not put an uncovered window directly behind you, because the phone will expose for the bright background and leave your smile in shadow. Turn instead so the glass sits beside or ahead of you.
If direct sun creates hotspots or hard shadows, close a white or neutral net curtain between the glass and your face. The fabric spreads the light without adding a noticeable color cast, and moving farther from the window helps when one side of your face still looks much brighter than the other.
| Lighting setup | Likely result | Practical correction |
| Direct sun on the face | Hotspots, squinting, deep shadows | Diffuse it with a neutral net curtain |
| Bright window behind the subject | Face and teeth appear too dark | Turn so the window is beside or ahead of you |
| Window light plus warm ceiling bulbs | Uneven or shifting color | Turn off competing indoor lights |
| Soft window light from one direction | More even, repeatable illumination | Mark the position and reuse it |
Why teeth and skin can change color between photographs
A phone does not record color absolutely. It estimates color from the light in the scene. A warm household bulb renders your teeth differently from daylight, while a strongly colored wall can tint everything around it. Automatic exposure and white-balance adjustments can then brighten or cool one image differently from the next, even when your teeth have not changed at all.
So use one main light source and turn off room lights when window light is sufficient. Skip direct flash when you want to compare sessions.
How to take consistent smile photos across several sessions
One good photograph is a snapshot. A repeatable process turns snapshots into a record you and your dentist can compare.
Mark the camera and standing positions
Use removable tape to mark where you stand and where the phone or tripod sits, and note whether the phone was vertical or horizontal and which lens you used. Keep the camera at mouth height every time. A mirror, a phone clamp, or a helper can improve alignment. Don’t balance a phone on an unstable stack of books, and skip any fixed-distance measurement you find online unless it has been tested on your exact phone and lens.
Keep timing and room conditions similar
Take comparison photographs at roughly the same time of day when you can, since moving sun and shifting cloud cover change the scene. Close the same curtains to reproduce the same diffusion, and switch the same indoor lights off or on each session.
Consistent lighting does not prove a clinical change. It only removes the obvious photographic variables.
Keep expression repeatable
Use the same type of smile for matching views. Do not stretch your lips farther in one session just to show more teeth, and keep your chin angle and head rotation similar. After each shot, compare the new image with the previous one and retake it if your eyes, mouth, or chin sit noticeably differently in the frame.
Save original files without cosmetic editing
Keep the unedited original. Cropping can help presentation, but whitening filters and color correction can remove details a dental professional may need to see, and AI enhancement can quietly alter them. Naming files by date and view, such as 2026-08-25-front-smile.jpg, keeps a multi-week series easy to sort.
What photos for a virtual dental consultation can and cannot show
A clear image supports a conversation, not a diagnosis
Accurate-looking home photographs can help a dentist see where a visible concern sits and decide what information to request next. That is where their usefulness ends. They cannot replace an examination or the diagnostic steps a dental professional selects, such as X-rays when clinically indicated.
Veneer candidacy requires a dentist to examine the teeth and gums, while material choice should be based on the requirements of the tooth being restored. Apparent tooth color is shaped by the lighting and phone processing already discussed, so it should never be read as a sign of health or disease on its own.
Follow the clinic’s secure submission instructions for any images you send. Personal email and social media are not appropriate channels unless your provider specifically directs you to an approved one. If you have pain, swelling, trauma, or uncontrolled bleeding, contact a dental professional or emergency services rather than photographing the problem first.
Questions to ask about veneer costs in Canada
Treat online prices as budgeting context
Veneer pricing in Canada typically lands near $484 per tooth, according to HelloDent’s January 2024 guide on how much veneers cost in Canada. That figure is for informational purposes, not a quote for your treatment. The material chosen and the number of teeth treated move it the most, along with where you live, the practitioner’s qualifications, and any supplementary procedures.
Each of those variables depends on a clinical assessment, not on a photograph. A smile photo cannot establish candidacy, determine how many veneers are appropriate, or reveal preparatory work that might change the treatment plan.
Bring specific cost and timeline questions to the appointment
Prepare your own questions to ask about veneer costs in Canada before you sit down with the dentist:
- Which material do you recommend, and what maintenance or replacement expectations come with it?
- How many teeth does the proposed plan include, and do you quote the price per tooth or for the complete treatment?
- How many visits might I need, and could temporary veneers or schedule changes apply?
- Does the quoted total include every stage from consultation to follow-up adjustments?
- Which payment schedule applies, and what warranty or cancellation terms will you provide in writing?
No particular material suits every reader, and no online figure is nationally standardized. These questions help ensure you get written answers from your own dentist before you commit.
Better photos make the consultation easier to start
A useful smile photograph is clear and unedited, shot the same way each time, while the professional assessment supplies the clinical context an image can never capture. Before your consultation, save the original files and ask the dental office two things: which views it wants and which secure upload method it prefers. Those two answers turn a folder of snapshots into the start of a real conversation.